 , fast delivery, and backed by our world-class customer service every step of the way.
 1-800-881-6093


Artwork Guidelines
Everything your artwork needs before it goes to press, explained with pictures you can play with.
HOW ARE YOU MAKING YOUR ARTWORK?
Four chapters.
One good box.
From a flat sheet to a file that prints right. Start anywhere, or read it top to bottom.
Structure
How a flat sheet becomes your box.
Images
Sharp photos, crisp logos, honest AI.
Text & color
Words people can read, colors that land.
Files & finish
Send it, check it, approve it.
Structure
How a flat sheet becomes your box.
Every box starts flat. Before you design anything, it helps to see the sheet your artwork lands on: where it gets cut, where it folds, and which way each panel faces once it’s a box.
How a box gets printed
Your box starts life as one flat sheet. We print it, cut it and crease it, and then it’s folded into shape.
Mailer, shipping and folding boxes are printed straight onto the board with UV-cured digital ink, so there are no labels or wraps to peel. Rigid boxes work a little differently: your artwork is printed on a paper wrap that’s laminated around a chipboard base, and the wrap folds over the edges and tucks inside.
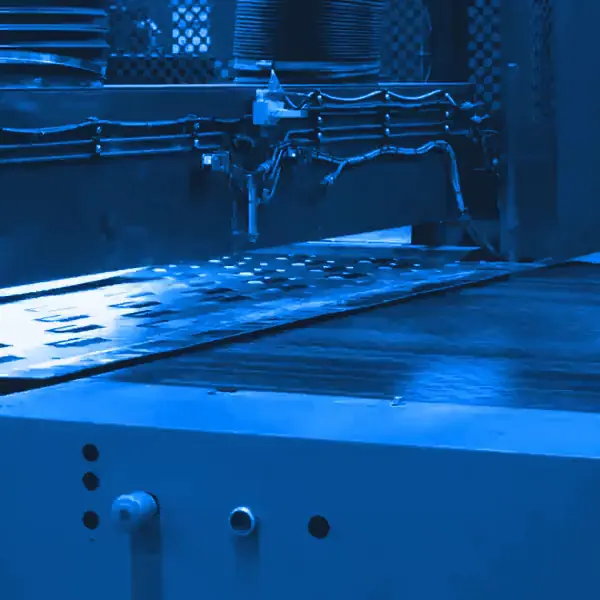 UV light dries the ink instantly Cut and creased, no metal dies
Reading a dieline
A dieline is the flat plan of your box: every cut, every fold, and how far your artwork should reach. It’s the template you design on when you bring your own file.
Each kind of line means something different:
- Cut lineWhere the blade cuts. This is the edge of your box.
- Fold lineWhere the board is creased so it folds cleanly.
- BleedYour artwork running at least 1/4" past the cut. Most templates don’t draw it.
Most of our templates show just the cut and fold lines, and that’s all you need. They mark them a little differently by box style:
- Mailercutfold
- Shippingcutfold
- Foldingcut and foldsbleed bandinner guide
- Rigidwrap edgeboard edgefolds
FOLD LINECreased so the board folds cleanly
Get a dieline
Download a template for one of our stock sizes. Need a different size? Ask for one and we'll email it to you.
- 6 × 4 × 2 inch mailer box dieline (PDF)
- 6 × 6 × 2 inch mailer box dieline (PDF)
- 7.25 × 4.25 × 2.25 inch mailer box dieline (PDF)
- 8 × 5 × 2 inch mailer box dieline (PDF)
- 8 × 6 × 4 inch mailer box dieline (PDF)
- 8 × 8 × 4 inch mailer box dieline (PDF)
- 8.5 × 5.5 × 3 inch mailer box dieline (PDF)
- 9 × 8 × 2 inch mailer box dieline (PDF)
- 9.25 × 6.25 × 3 inch mailer box dieline (PDF)
- 9.5 × 7.75 × 4 inch mailer box dieline (PDF)
- 10 × 8 × 4 inch mailer box dieline (PDF)
- 12.25 × 12.25 × 3.25 inch mailer box dieline (PDF)
- 12.75 × 8.75 × 3.75 inch mailer box dieline (PDF)
- 15.75 × 12 × 2.5 inch mailer box dieline (PDF)
Need a different size or board?We'll email you a dieline made for your box.
Bleed
Cutting is precise, but not perfect. The blade can land a hair to either side of the line, and if your background stops exactly at the cut, that tiny drift can leave a thin white edge.
So run your artwork at least 1/4" past every cut line. That extra is the bleed, and it gets trimmed away. If it needs fine-tuning, we do that in pre-flight and email you a proof to check.
Printing right up to the edges is fine. Rigid boxes are the one exception: the printed wrap folds over the board’s edges, so keep text and logos clear of them.
Clean edge, the bleed was trimmed away
Which way is up
On a flat dieline, not every panel faces the way it will once the box is folded. Some sit upside down, and the sides are turned on their ends.
So artwork that looks upright on the flat sheet can end up standing on its head. It catches out experienced designers too. Before you send a file, picture the box folding up, or print the dieline and fold it yourself.
Not sure which way a flap faces? Each box style’s page shows its dieline with an arrow on every panel pointing to the top of the artwork: mailer, shipping, folding and rigid boxes.
Images
Sharp photos, crisp logos, honest AI.
Ink can only print the detail your files actually have. Here’s how to tell if an image is ready for a box, and what to do when it isn’t.
Resolution, explained
Every photo or image file is made of pixels. Stretch it bigger and those pixels spread out until the edges turn soft and blocky. On a box, you want about 300 pixels for every inch of print. That’s 300 dpi.
To check, divide the image’s width in pixels by the width it will print, in inches. A logo that’s 1,000 pixels wide prints sharp up to about 3 1/4 inches wide.
Resolution is the one thing nobody can fix later, so send the originals: the logo file your designer made, the photo straight from the camera. A screenshot or an image saved from a website is usually too small.
The same 96-pixel file, printed bigger and bigger.
Is my image big enough?
Pick an image and tell us how wide it will print, and we’ll do the math for you.
We’ll also take a rough look at its detail, because pixels alone don’t tell the whole story: an image that was enlarged, or saved as a heavily compressed JPEG, can have plenty of pixels and still print soft.
Your file never leaves your computer: nothing is uploaded, and we don’t see it.
This is a quick check, not a guarantee. Open your image at 100% before you send it, and your account manager reviews every file too.
AI-generated images
AI images are fine on a box, and today’s tools can get you very close to print-ready. They still deserve a closer look than a photo, because small slips are easy to miss on a phone screen. Open yours at full size and check:
- Size. Check the pixel size against the size it will print. If it falls short, ask your tool to upscale it, then check again at full size.
- Lettering. Newer tools spell well, but read every word anyway: one typo prints on every box. For your logo, use the real file rather than a redraw.
- Details. Look over the whole image at 100% for small artifacts: warped edges, odd textures, a pattern that doesn’t quite repeat.
- Rights. Make sure the AI didn’t borrow someone else’s work, like a recognizable character, logo or brand look. You need the rights to everything in your artwork, and we won’t print anything that clearly infringes a copyright or trademark.
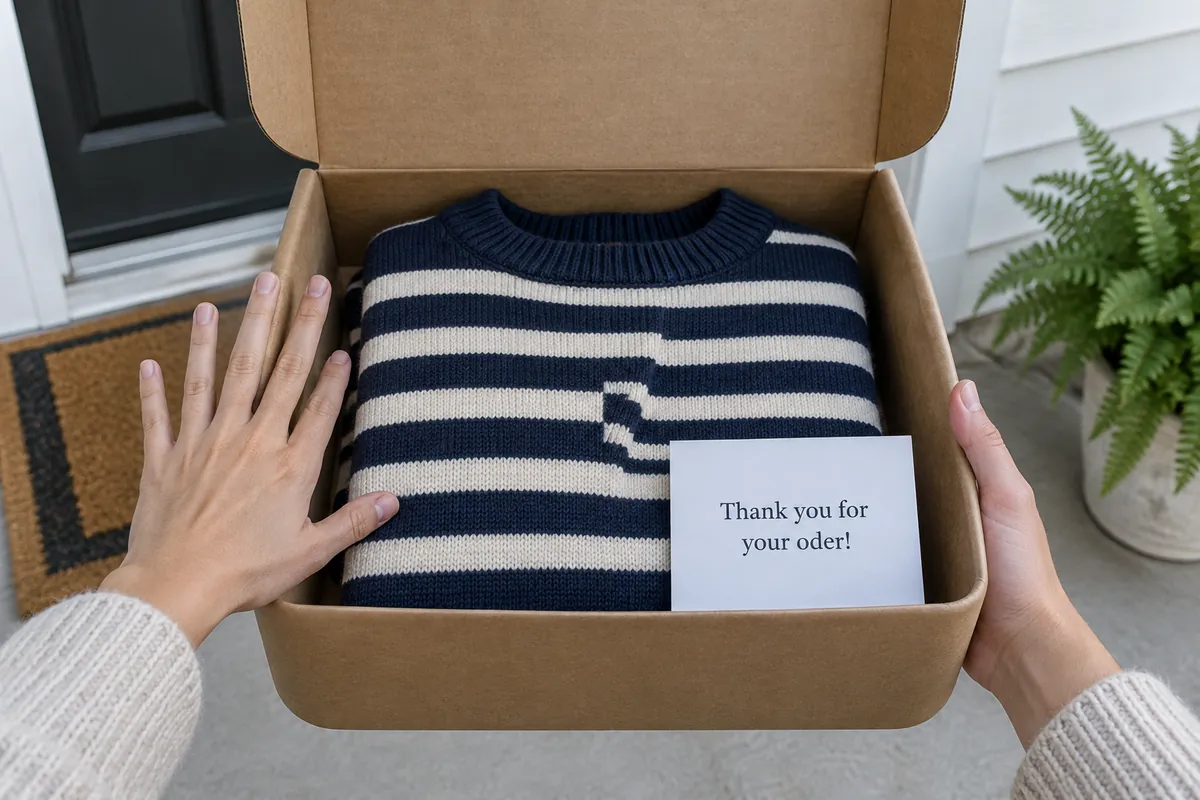
0 of 4 found. Tap anything that looks off.
- “The exact size and shape of your panel”, for example a 10 by 4 inch front panel, so the art fits without cropping or stretching.
- “Use my logo and brand colors”, attached as references, so the art matches your brand rather than a lookalike.
- “A vector version”, for logos, icons and simple patterns, when your tool offers it.
- “A seamless repeating pattern”, great for all-over prints.
- “Print-ready at 300 dpi”, then check the pixel size really matches your print size.
Logos: vector vs pixels
A vector logo is drawn with math instead of pixels, so it stays sharp at any size, from a small side panel to the whole lid. A pixel logo has a fixed amount of detail, and it shows when it’s stretched.
Not sure which you have? Zoom in. If the edges stay smooth, it’s vector. If they turn into little squares, it’s pixels. Your designer can usually send the vector version as a PDF, AI, EPS or SVG file.
Barcodes and QR codes print best as vector too, so their edges stay crisp enough to scan.
Zoomed in: smooth edges on the left, little squares on the right.
Text & color
Words people can read, colors that land.
Text has to survive ink and board, and color on a screen isn’t quite color on a box. Here’s what changes between the two, and how to plan for it.
Fonts and outlines
On a box, text has to survive ink and board. Keep regular text at 9 pt or larger. Light text on a dark background needs a little more, about 10 to 11 pt, because ink spreads into thin letters. Very thin or delicate fonts may need sizing up too.
Sending your own file? Outline your fonts: convert the text to shapes in your design app. Then it prints exactly as you set it, even on a computer that doesn’t have your font. Select your text, then:
Without your font, a computer swaps in its own.
Small print and barcodes
Barcodes, UPC codes and QR codes print on our boxes and scan. Send them as vector artwork if you can: a code copied from a low-resolution image can print with soft edges. We don’t scan-test codes by default, but we’re happy to if you ask.
Recycling symbols and How2Recycle labels go in like any other graphic. Claims on your packaging, and any Prop 65 warning your product needs, are your call: we print them exactly as you supply them.
0 12345 67890 5

packwire.com/guidelines
Printed as vector, every edge stays crisp enough to scan.
Screen color vs ink
Screens make color with light. Presses make it with ink, and ink can’t reach some of the brightest colors a screen can show. Vivid blues, greens and neons are the ones most likely to print a little duller.
Design in CMYK where you can, so what you see is closer to what prints. Files in RGB are converted automatically, and colors can shift a little along the way.
Digital print comes close to Pantone colors, though not exactly. For true Pantone (PMS) on orders above 2,000 units, we print with HD Flexo or Litho Lamination, quoted separately.
If color is critical, order a printed sample for $35 plus shipping first, and look at it in the light your customers will see it in.
Screens add light: where colors overlap, they glow brighter.
Neons, vivid blues and greens print a little calmer than they glow on screen.
- Big solid areas can show slight banding. That’s normal for digital print.
- Very light tints, under about 10%, can look uneven.
White, kraft or SuperGloss
Ink sits on top of the board, so the board’s own color shows through. The same artwork prints darker and warmer on Kraft than on White, which suits bold, simple designs.
We don’t print white ink. If you love the look of white on kraft, we can print a kraft texture on White board instead. SuperGloss is a glossy coated board that gives colors extra sheen, and it’s available on mailers.
Mailers come in White, Kraft or SuperGloss. Shipping boxes come in White or Kraft. Folding and rigid boxes are White.
SAME ARTWORK, THREE BOARDS
Files & finish
Send it, check it, approve it.
The last stretch: which files to send, the two ways to get your artwork to us, a checklist to run before you do, and what happens after.
File formats
Vector files are best: PDF, AI or EPS. Photos and other pixel images work too, as TIFF, JPEG, PNG or PSD, at 300 dpi at the size they’ll print.
Made your artwork in Canva, Word or PowerPoint? Send it. We work with just about any file, and we’ll do our best to make it work.
One thing to watch: transparency, overprint and blending effects don’t always survive the trip from one program to another. Flatten them where you can, and look closely at those areas on your proof.
The safest file to send. Keeps vector shapes sharp and fonts in place.
Designing in our configurator
An account manager checks every order and gets in touch before anything is printed. These tips just help you skip a round of back-and-forth.
- Run backgrounds to the edge
Each face stops exactly at the panel’s edge, so take colors and images all the way out.
- Upload big PNG or JPG files
PDFs are turned into an image when you upload them, so a large PNG keeps more detail.
- Design every face upright
The box takes care of which way each panel faces once it’s folded.
- Print the inside of a mailer
Switch the box to Open to design the inside panels too.
- Preview on Kraft
Pick Kraft and the preview shows the darker, warmer print you’ll get.
- Coverage affects the price
On mailers and shipping boxes, the more of the box your artwork covers, the more ink it takes.
- Keep text readable
Stick to 9 pt or larger, a little bigger for light text on a dark background. The configurator won’t stop you going smaller.
- Order a sample first
Set the quantity to 1 for a single printed mailer with your own artwork on it.
Bringing your own file
Working in Illustrator, Affinity, InDesign or similar? Here’s the order we’d set things up in.
- Get a dieline. Download one for a stock size, or ask us for your exact size.
- Keep the dieline and your artwork on two separate layers. Sublayers for text, images and background are even better.
- Run artwork into the bleed, at least 1/4" past every cut. We fine-tune it in pre-flight if needed.
- Turn each panel the way it faces once the box is folded.
- Use images at 300 dpi at the size they’ll print.
- Outline your fonts.
- Work in CMYK.
- Export a print-quality PDF.
- Place your order, then email us your file. We’ll check it and send you a proof.
- Dielineits own layer, not printed
- Artworkeverything else
- Textoutlined
- Logos and images300 dpi
- Backgroundinto the bleed
Two layers is all we need. Sublayers are a bonus.
Send us your logo and artwork and we’ll place it on the dieline for you, free. Got a bigger job, like a full design or a whole range of boxes? Ask about our design services. Get in touch.
Pre-flight checklist
Run through this before you send your file or click Add to Cart. Tick as you go: we’ll remember.
ACHIEVEMENT UNLOCKEDYour artwork is ready for press.
Our safety net
However you make your artwork, a real person looks at it before anything is printed.
- Every order is checked
Your account manager reviews resolution, bleed and color before you see a proof.
- A proof within 24 business hours
You’ll get a 2D proof by email. Nothing is made until you approve it.
- Unlimited free revisions
Change anything on your proof, as many times as you need.
- Free placement on the dieline
Send your logo and artwork, and we’ll lay it out for you.
- Full design, if you’d rather
Our designers can create the whole thing for $300, with up to three rounds of revisions. Smaller jobs are billed by the hour, so just ask.
- A printed sample
See your colors on the real board first, for $35 plus shipping.
Still have a question about your file?
Talk to a real person. We’re happy to look at it with you.
— Packy, your packaging assistant